

Important Note:
From Authorize.Net, Synder syncs only sales and refunds (gross amount) to your accounting software. Payouts and fees need to be recorded manually.
Overview:
1. Synder Settings – Configuring Accounts
2. Reconciliation Flow in QuickBooks Online
Synder Settings – Configuring Accounts
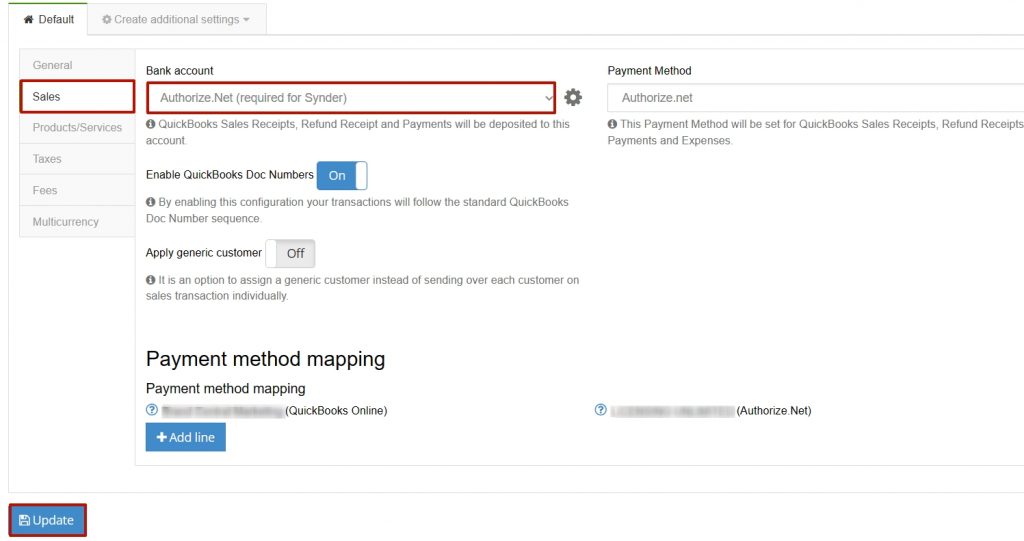
Synder uses a clearing account to represent the real money flow from your clients to your Authorize.Net account. Please make sure that you have Authorize.Net configured in the Sales tab. This will ensure that individual transactions are deposited correctly:
a. Log into Synder – > click on Settings on the left-side menu;
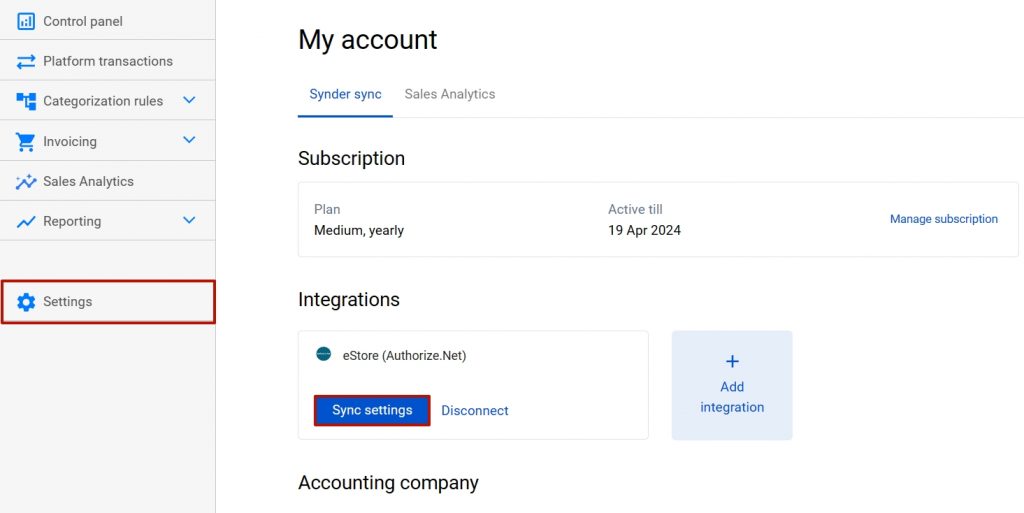
b. Make sure you have the Authorize.Net (required for Synder) account selected in the Sales tabs – > click on Update.
Reconciliation Flow in QuickBooks Online
Solution 1: Create a rule to automatically transfer Authorize.Net deposits:
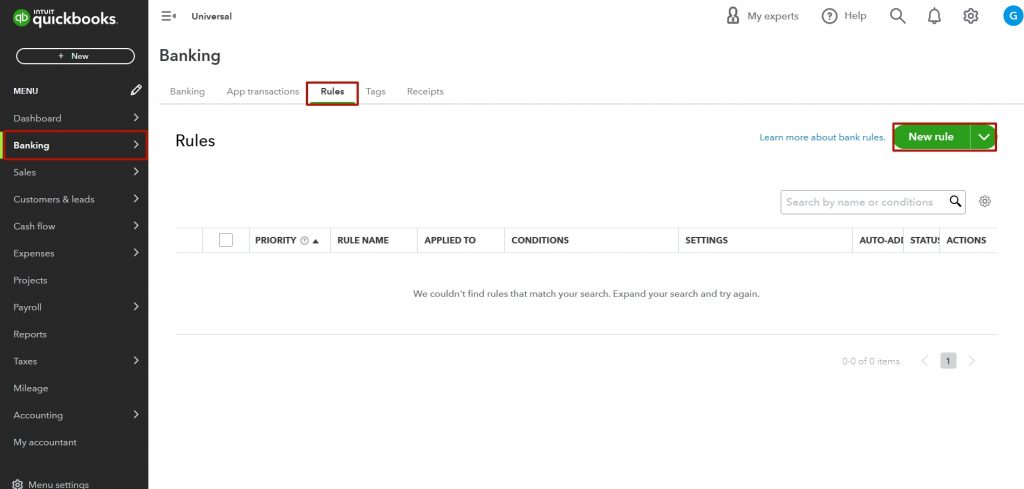
- Log into QuickBooks Online and navigate to the Banking tab.
- Click on the Rules tab.
- Click on New rule.
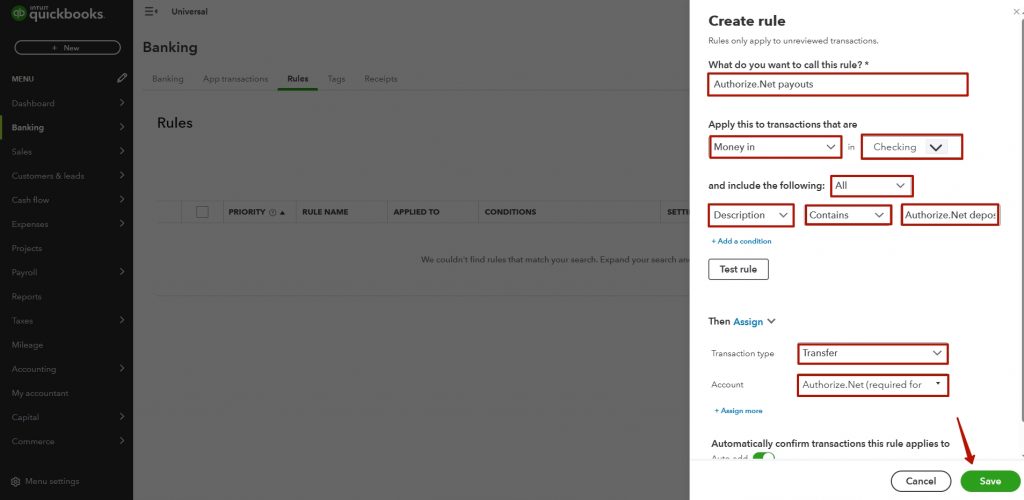
For payouts:
- Name it Authorize.Net Payouts or something similar.
- Select Apply this to transactions that are Money in and choose the bank account to which Authorize.Net transfers funds;
- Set the Condition based on which the system will apply the rule (e.g., Description -> contains Authorize.Net deposit).
- Assign a Transfer and select the Authorize.Net (required for Synder) account.
- Click Save.
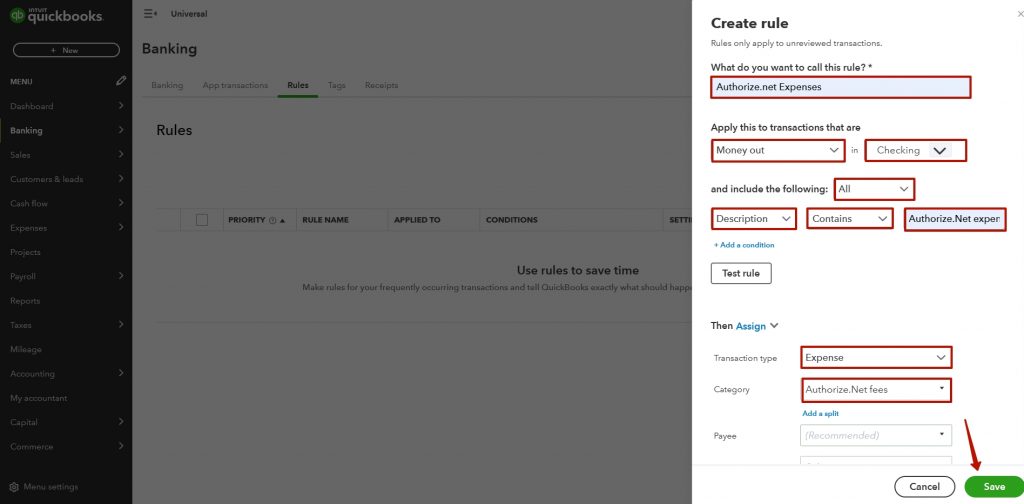
For expenses:
- Name it Authorize.Net Expenses or something similar.
- Select Apply this to transactions that are Money out and choose the bank account from which Authorize.Net transfers expenses.
- Set the Condition based on which the system will apply the rule (e.g., Description -> contains Authorize.Net expense).
- Assign Expense as a transaction type and select the desired category, e.g., Authorize.Net fees.
- Click Save.
Solution 2: Add expenses and payouts manually.
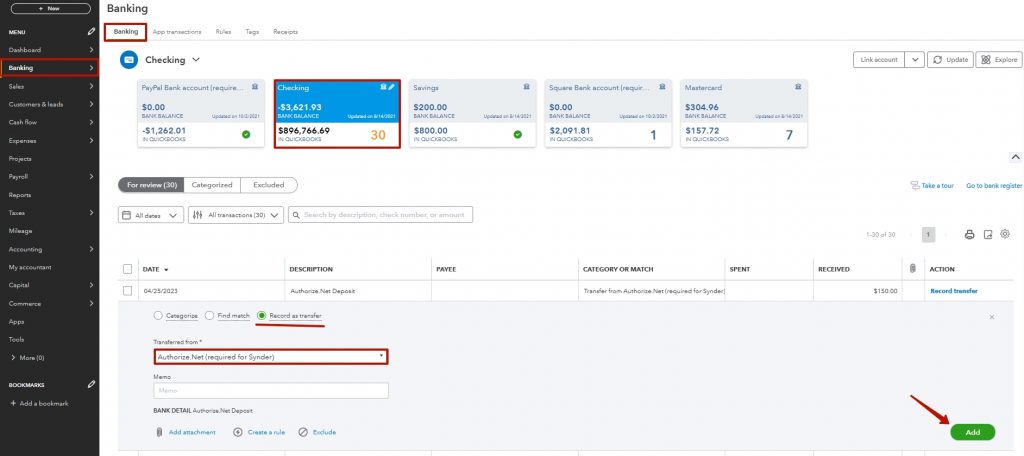
To add payouts:
- Log into QuickBooks Online and navigate to the Banking tab.
- Click on Banking and select the bank account to which Authorize.Net transfers funds.
- Under the For review tab, click on a Deposit you’d like to categorize.
- Go to Record as transfer and select Transferred from Authorize.Net (required for Synder).
- Click on Add.
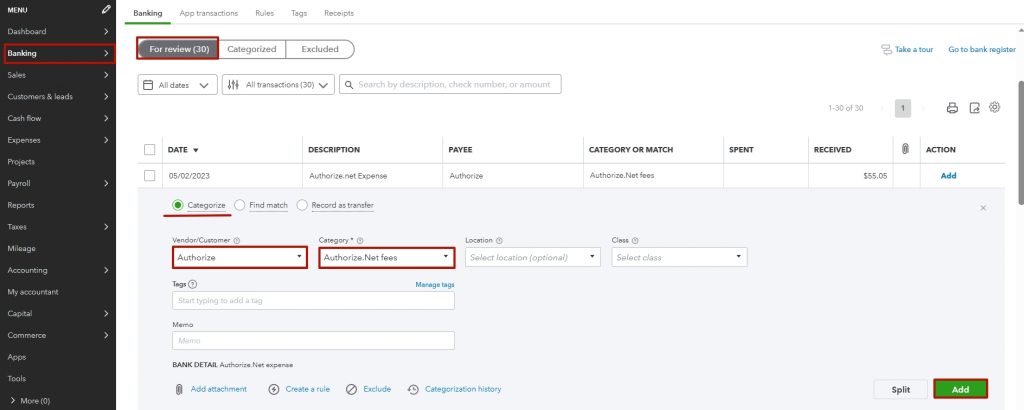
To add expenses:
- Click on Categorize.
- Select the Vendor if needed.
- Choose the desired category, e.g., Authorize.Net fees.
- Click on Add.
Get in touch with the Synder team via online support chat, phone, or email with any questions you might have – we are always happy to help you!