

Synder can connect your Authorize.Net payment platform to your Synder Books/QuickBooks/Xero company for automated bookkeeping. You will see the gross amount of sales in your accounting company after the synchronization and the reconciliation will take several clicks.
Please note: Authorize.Net has a monthly fee for its services, not per-transaction fees, which you will need to create manually in your bookkeeping system.
Please note: Synder will automatically sync any sales transactions only AFTER the funds they compose were paid out from Authorize.net to the bank (after the settlement went through). So several most recent transactions may not show up right away, but they automatically will in the future.
Please follow these steps to connect Authorize.Net to Synder.
Overview:
Start the Authorize.Net integration from scratch
- Create an account
If you’re getting started with Synder you’ll need to create a free Trial account and connect your accounting system first. Check out this guide if you would like to integrate Authorize.net with Synder accounting, QuickBooks Online or Xero and this article to connect your QuickBooks Desktop company.
Select the product(s) you are going to use:
- Synder Sync;
- Business Insights;
- Or both of them for perfect control of your business.
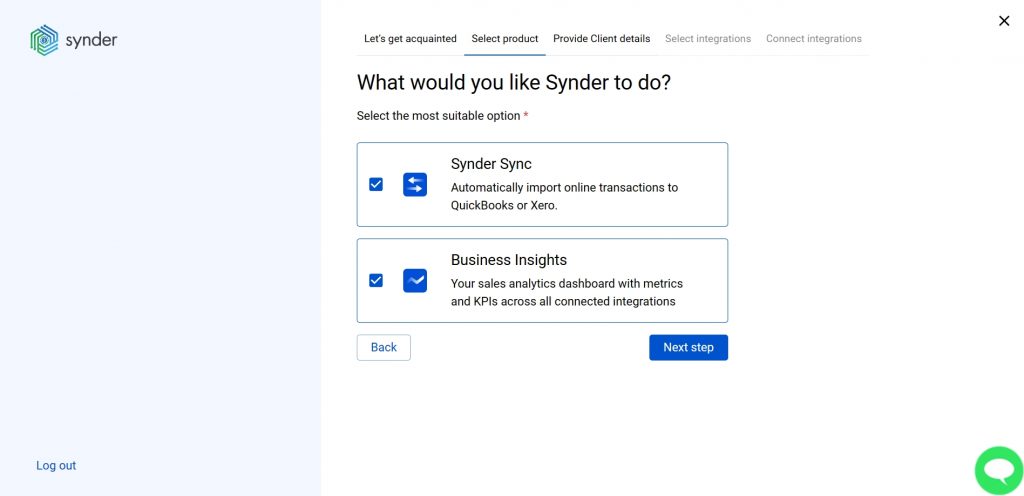
Synder Sync: choose this product to push all of your transaction data from all sales channels into QuickBooks Online, QuickBooks Desktop, Xero, or Synder Books – our native accounting solution.
Business Insights: this Synder product lets you see how your business is doing. It aggregates data across all of your connected sales channels and payment gateways and provides you with timely insights into your products’ performance and your customer behaviors, as well as financial health indicators such as total sales, average order value, etc. The data is updated every hour!
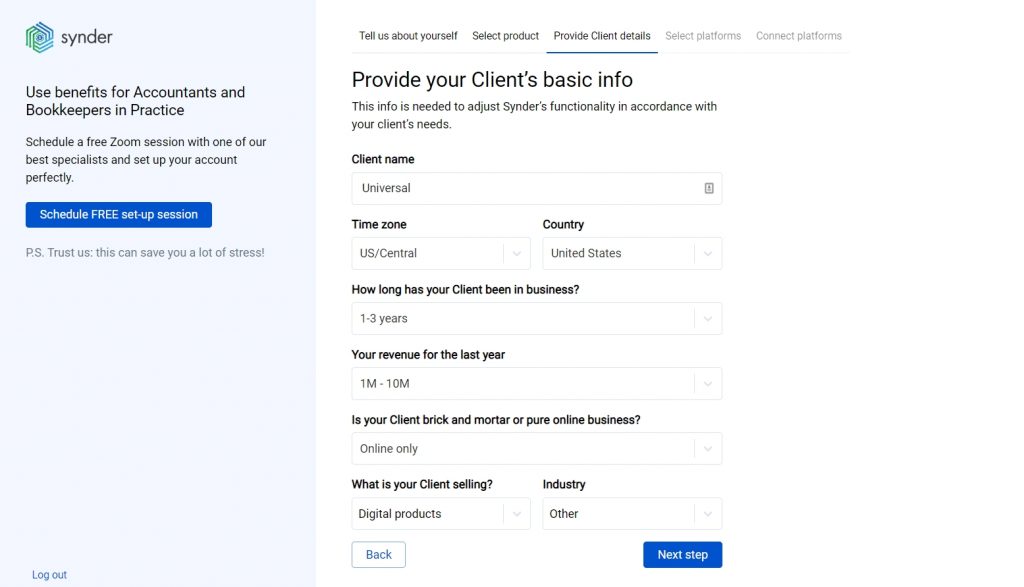
- Provide your business details
Going through the set-up process of an Organization for your QuickBooks/Xero company or Synder Books – just fill in the information about your business and hit the Next step button.
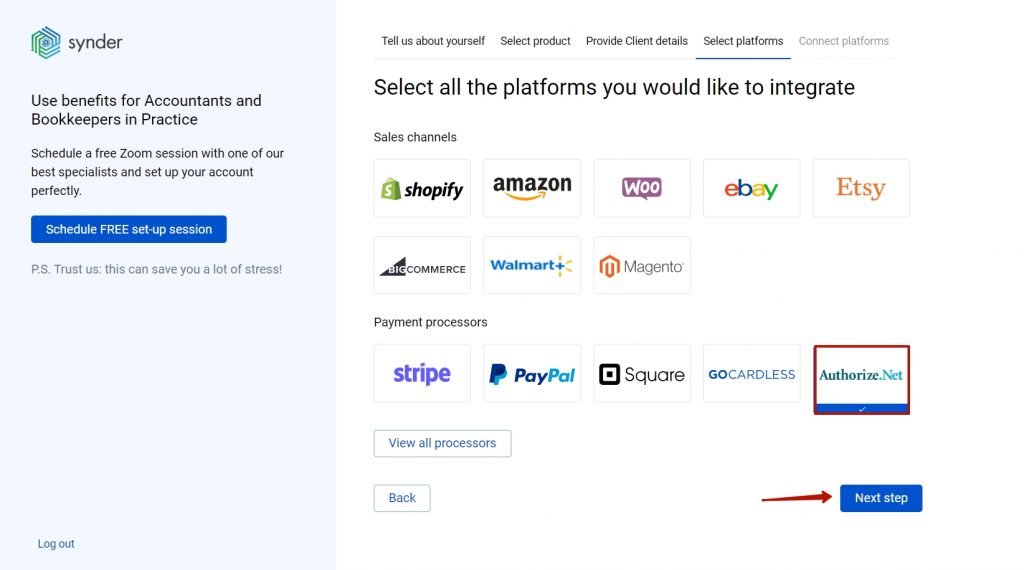
- Select the platforms you would like to integrate
Now you need to select the platforms you would like to connect to Synder. Mark Authorize.Net and other platforms you would like to integrate with Synder (click View all processors to see the list of all available platforms) and hit Next step.
Note: Mark all the services you are using to receive payments, you will be able to connect all of them right away or skip the connection of particular integrations and set them up any time later.
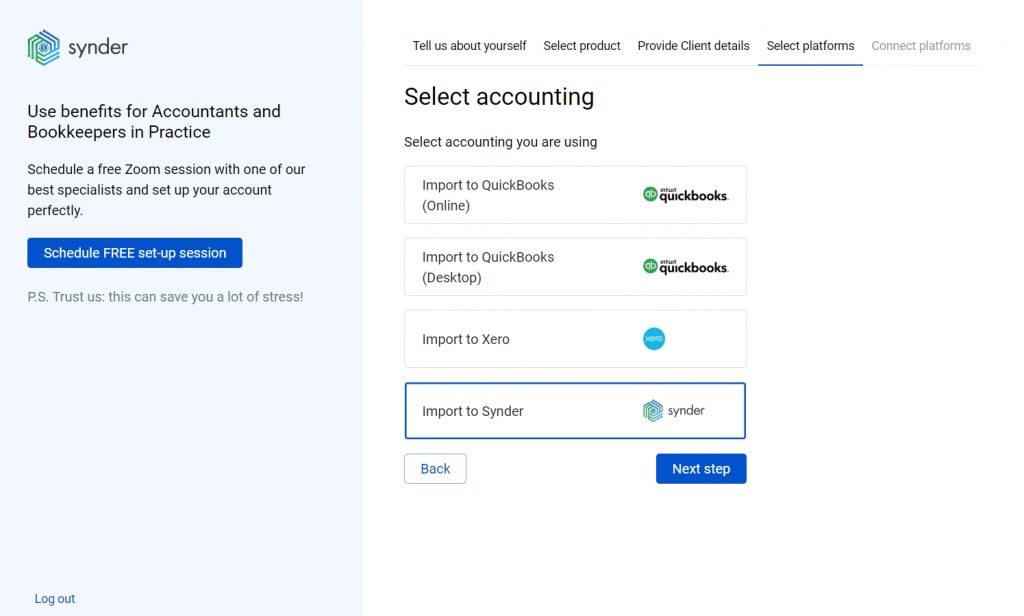
- Select and connect your accounting platform
Select your QuickBooks Online or Xero company by clicking on the Connect button and grant permission to the software to record data in your QuickBooks or Xero company or proceed with our own Synder Books.
Note 1: if you are a QuickBooks Desktop user, check out this video tutorial to learn How to connect and sync data into QuickBooks Desktop.
Note 2: check out this guide if you would like to integrate QuickBooks Online or Xero.
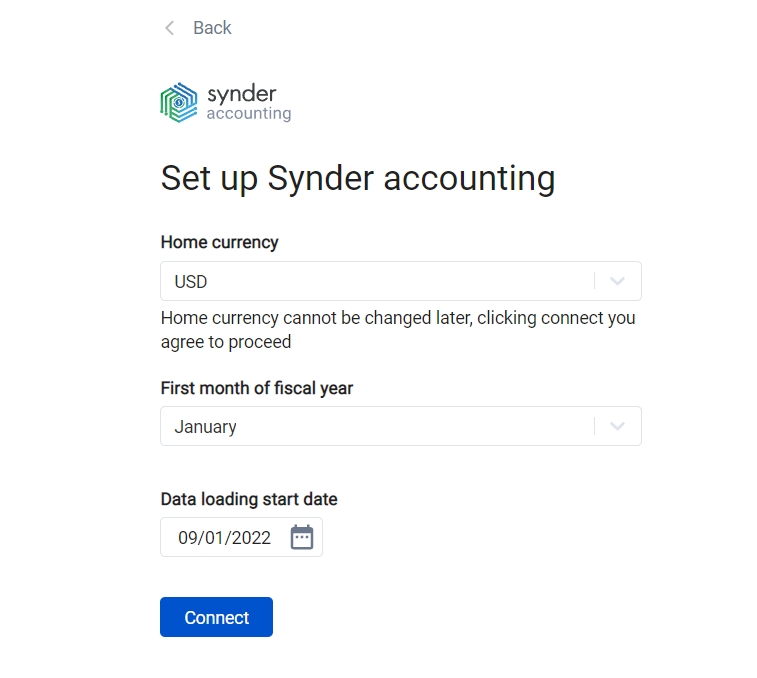
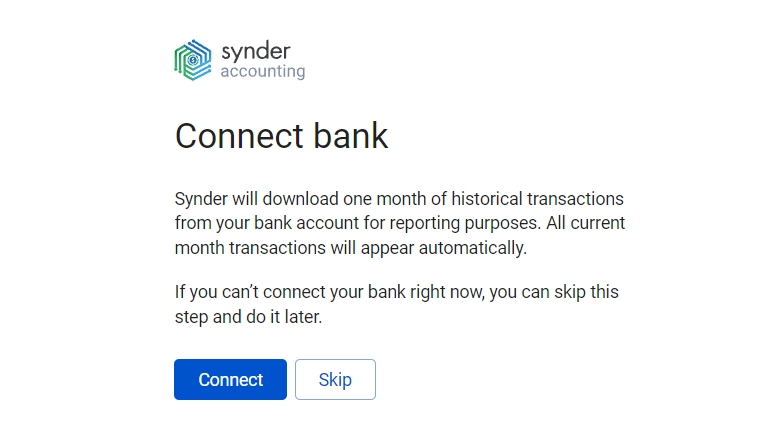
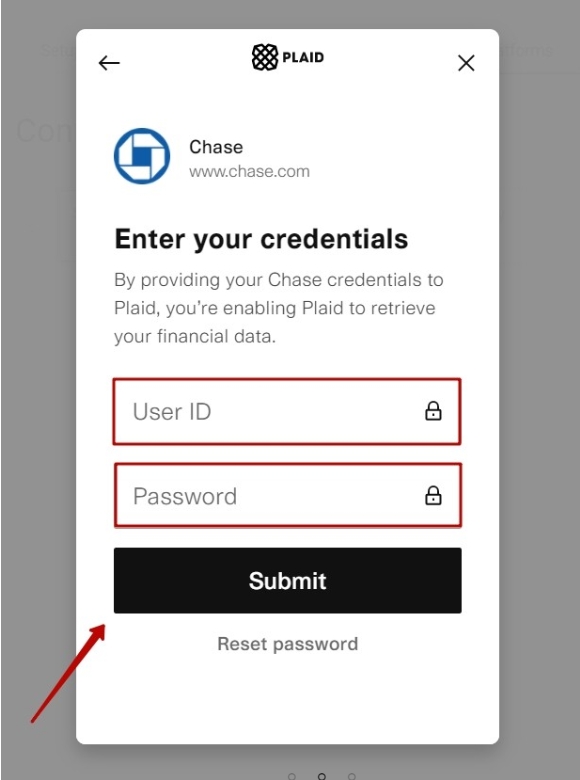
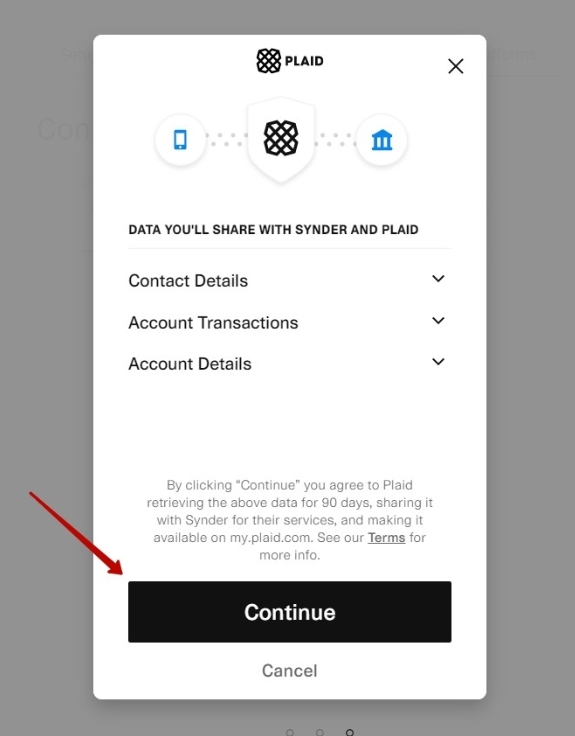
If you’re going to connect Synder Books, follow the steps on the screen to grant permission to the system
- Connect your Authorize.Net account
Almost there! To complete the setup you just need to connect your Authorize.Net and other sales platforms to Synder. Here is how to obtain your Authorize.Net credentials:
Step 1: Log in to the Merchant Interface at https://login.authorize.net.
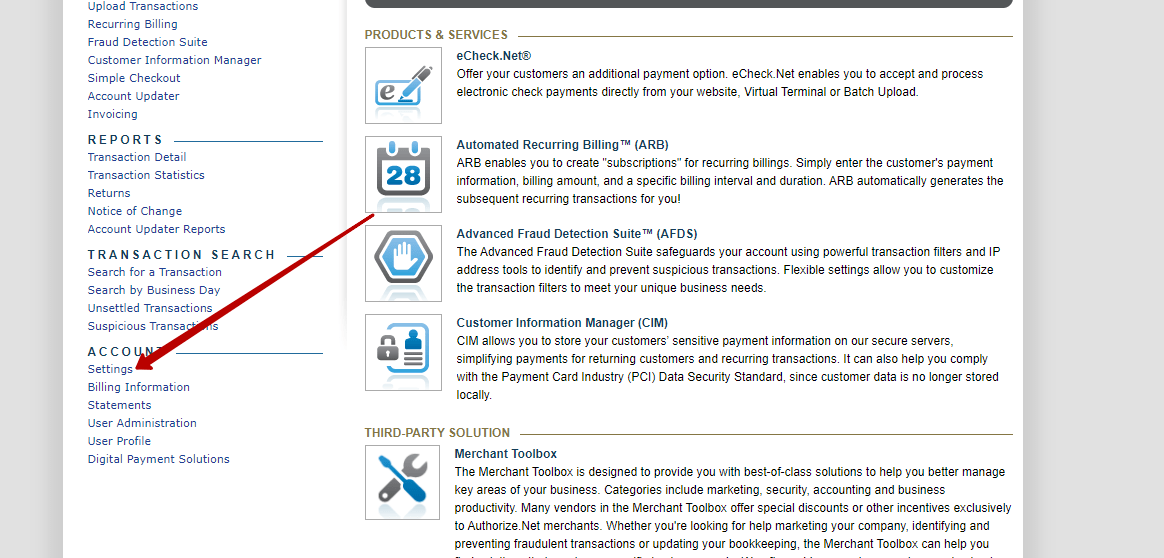
Step 2: Click Account.
Step 3: Click Settings.
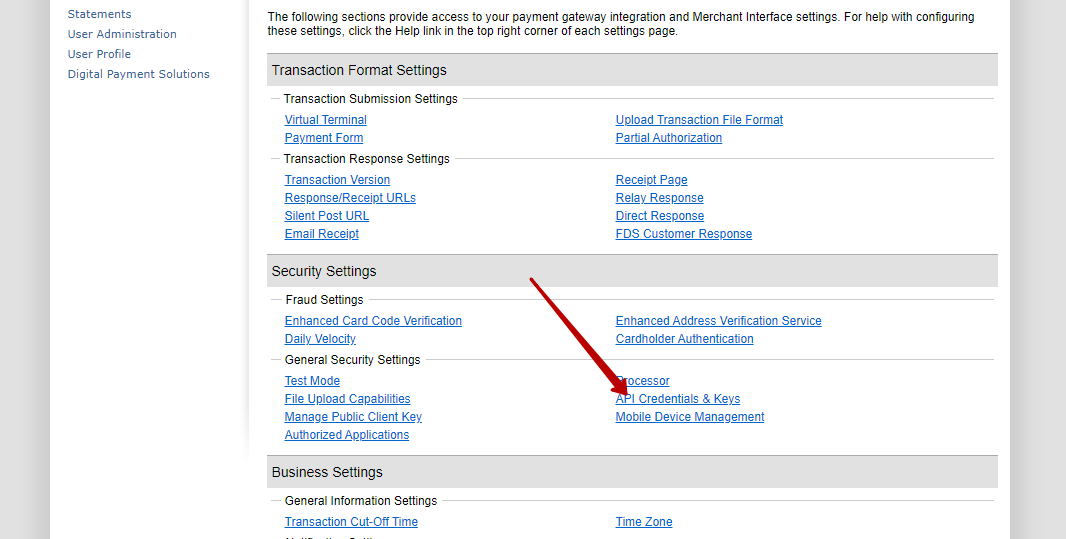
Step 4: Under General Security Settings, click API Credentials & Keys.
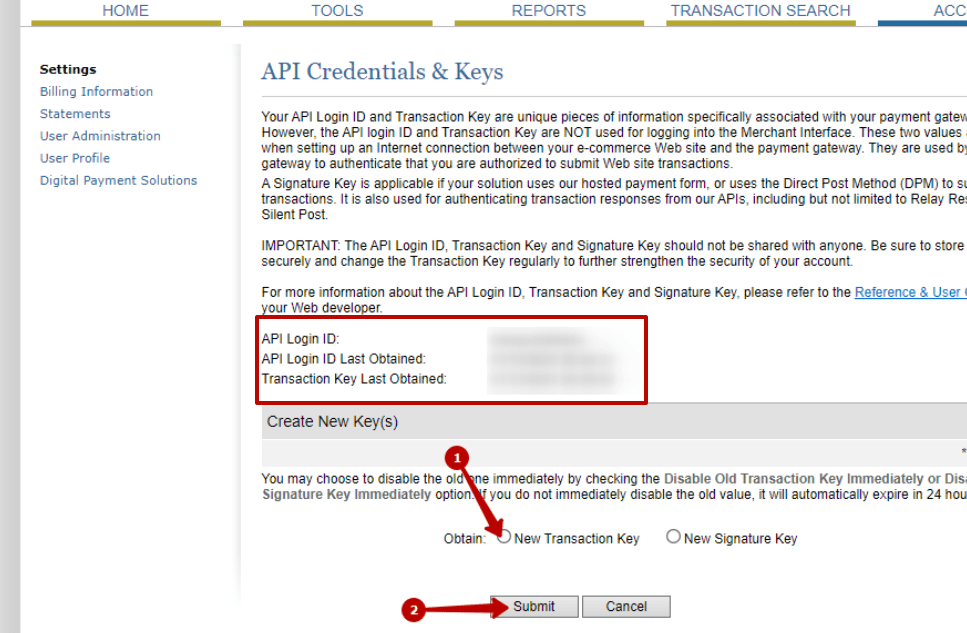
Step 5: Copy your Transaction Key from there or click New Transaction Key if you do not have any yet Under Create New Key(s).
Step 6: Click Submit.
Step 7: When prompted, request and enter a validation PIN.
Step 8: Your API Login ID and Transaction Key appear.
Paste your Authorize.Net API Login ID and API Transaction Key to Synder and hit Connect:
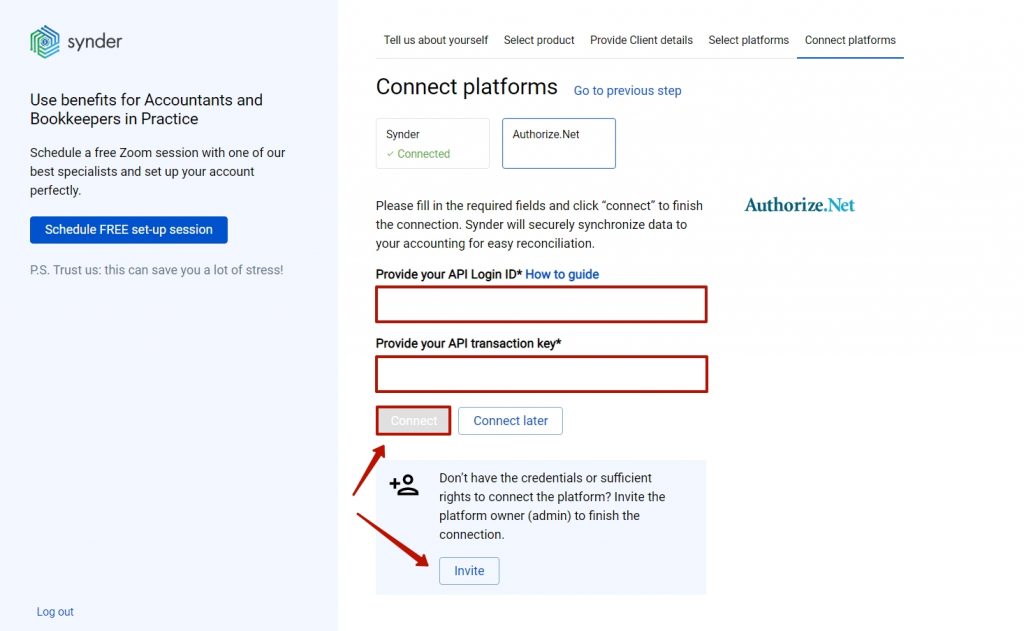
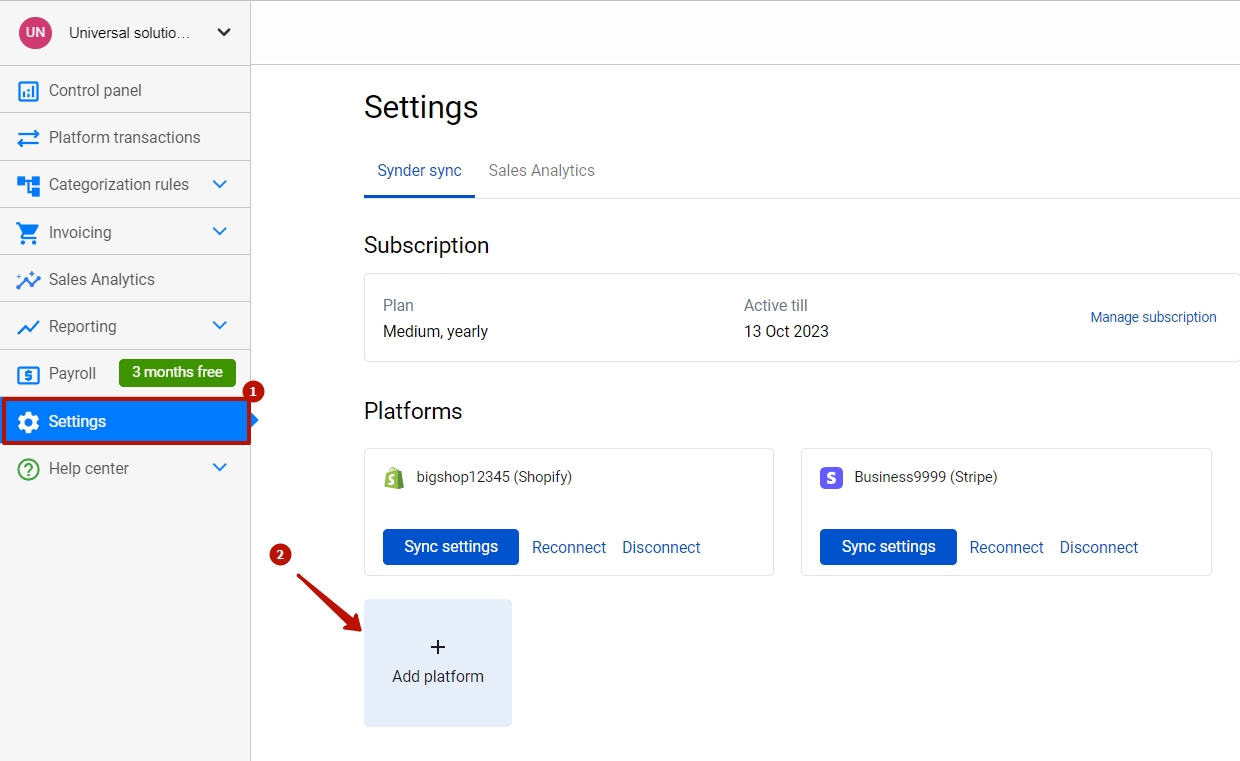
You can integrate sales platforms one by one straight away or skip the connection for other additional payment processors and set them up later in the Settings: tap the Settings button on the left side menu → hit the Add platform button.

Note: You can find our detailed guides on how to connect your sales channels and payment providers to QuickBooks Online/Xero via Synder in our Help center.
Tips and tricks on the Authorize.Net integration
Note 1. Synder mirrors real money flow in your accounting by recording sales and expenses in the Clearing account (Authorize.Net Bank account in your books) that Synder creates automatically during the initial setup.
Note 2. Synder protects your data with two flagship features: duplicate detector and rollback. You can give yourself peace of mind knowing that all the power is in your hands and your accounting is secured.
Note 3. Get familiar with the software in our 3 Must-Watch beginner guides and Features of Synder taking your experience to the next level to find out how Synder can help you automate your bookkeeping.
That’s it, you’ve successfully connected your Authorize.Net account to Synder, enjoy the ride! If you feel like some adjustments are necessary (e.g. you would like to change tax, item, or customer configs), you can manage that in Synder settings. Open them on the left menu → hit the Configure button under your Authorize.Net platform. If you need to fill in gaps with missing data after the sync into your QuickBooks Online, like applying classes or locations to transactions, the Smart Rules feature will be of great service. Now, you can customize your Synder according to your needs.
Get in touch with the Synder team via online support chat, phone, or email with any questions you might have so far – we are always happy to help you!